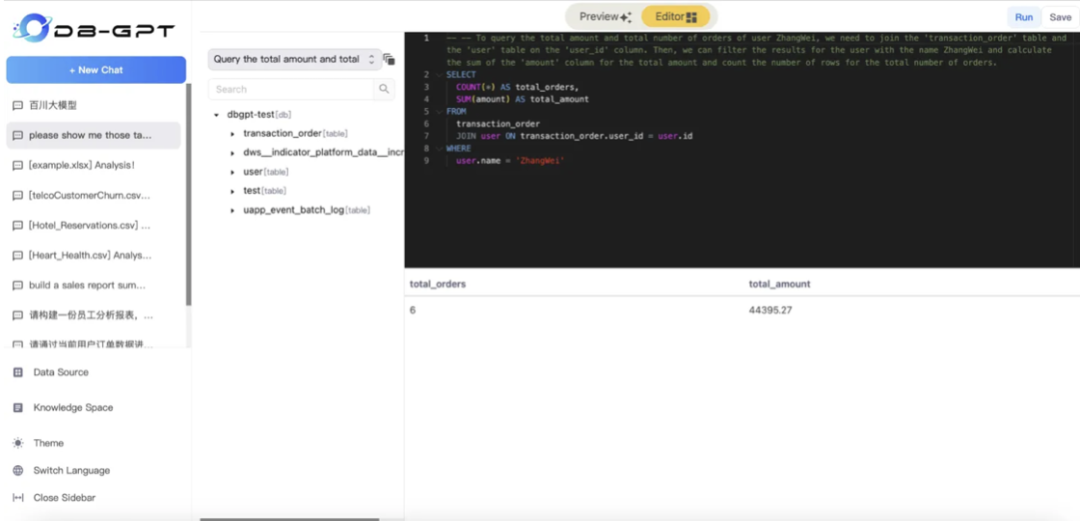
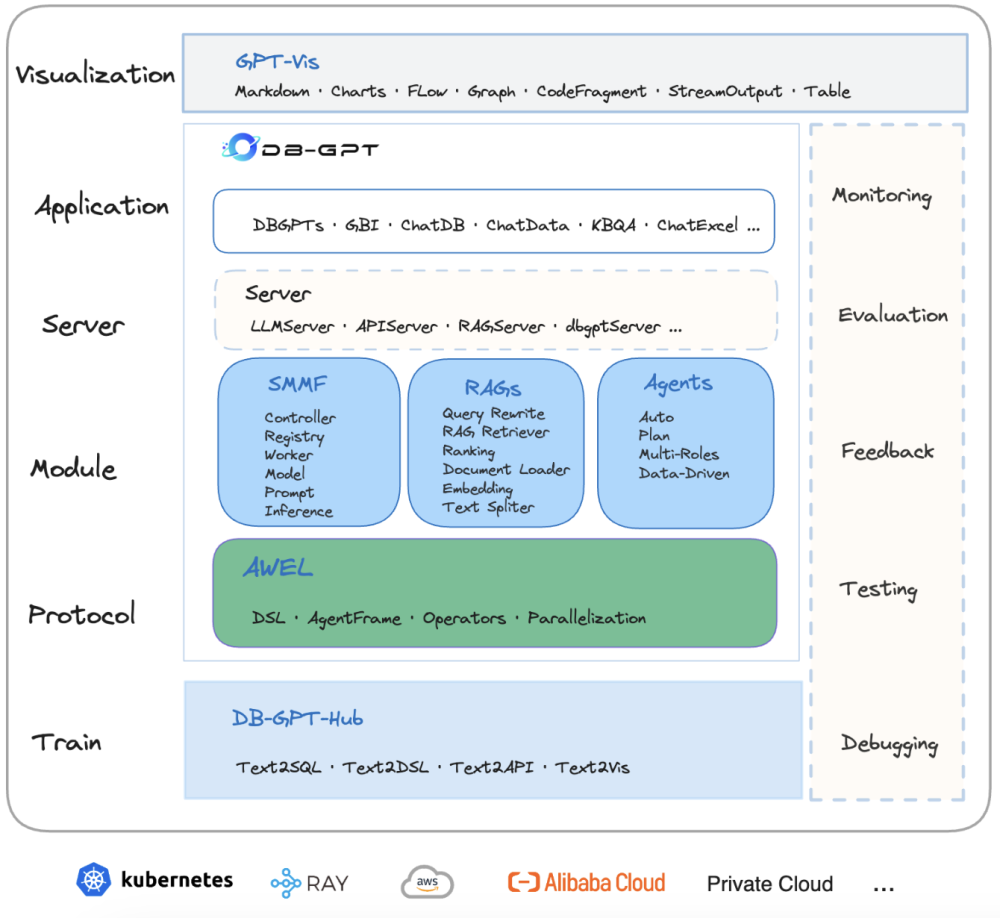
DB-GPT围绕大模型提供了灵活、可扩展的AI原生数据应用管理与开发能力,帮助用户快速构建、部署智能AI数据应用,通过智能数据分析、洞察、决策, 实现企业数字化转型与业务增长。目前有超过106万用户学习和使用DB-GPT,其中100+家企业已将其集成到生产系统中,应用场景覆盖了金融、政务、互联网等多个行业。
目前,用户可在Dify、Cursor、ChatBox、Obsidian Copilot、Cherry Studio、沉浸式翻译等应用接入SiliconCloud的各类大模型(文档:https://docs.siliconflow.cn/usercases/)。
本文将分享如何通过DB-GPT使用SiliconCloud的模型,让用户体验到强大的多模型管理能力,灵活、可扩展的AI应用管理开发能力,以及在AI应用开发过程中提供全流程的更极致的用户体验。
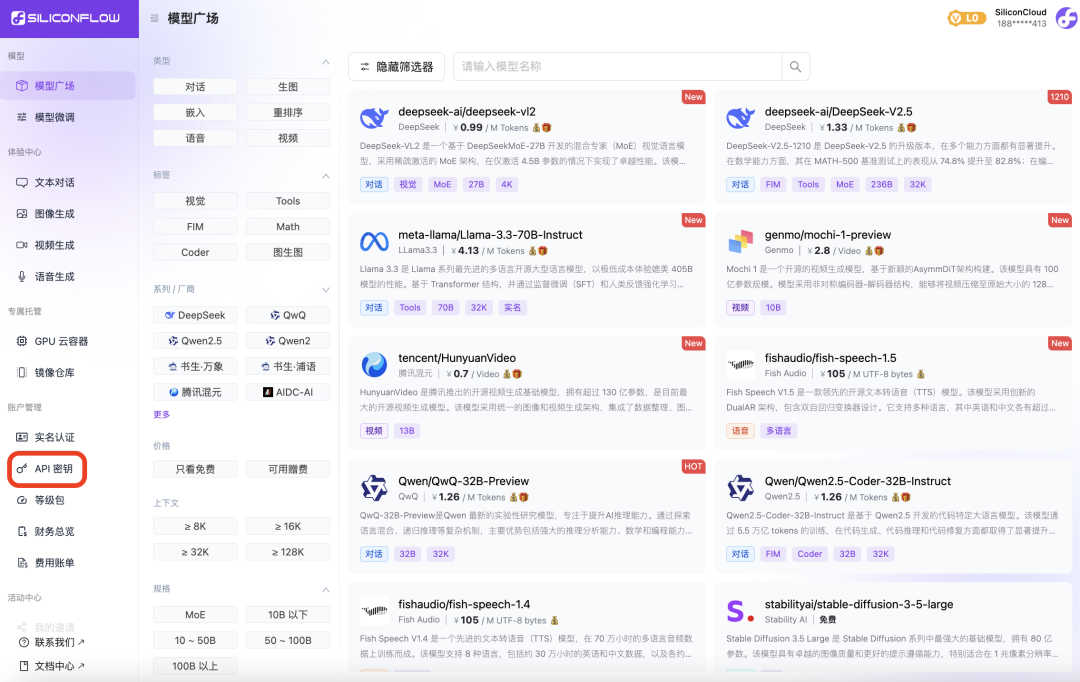
1. 获取 API Key
1.进入 SiliconCloud 官网(https://cloud.siliconflow.cn/)并注册/登录账号即可。
2. 部署 DB-GPT
git clone https://github.com/eosphoros-ai/DB-GPT.git
2.创建虚拟环境并安装依赖
# cd 到 DB-GPT 源码根目录
cd DB-GPT

# DB-GPT 要求python >= 3.10
conda create -n dbgpt_env python=3.10
conda activate dbgpt_env

# 这里选择代理模型类依赖安装
pip install -e ".[proxy]"
3.配置基础的环境变量
# 复制模板 env 文件为 .env
cp .env.template .env
#  使用 SiliconCloud 的代理模型
LLM_MODEL=siliconflow_proxyllm
# 配置具体使用的模型名称
SILICONFLOW_MODEL_VERSION=Qwen/Qwen2.5-Coder-32B-Instruct
SILICONFLOW_API_BASE=https://api.siliconflow.cn/v1
# 记得填写您在步骤2中获取的 API Key
SILICONFLOW_API_KEY={your-siliconflow-api-key}

# 配置使用 SiliconCloud 的 Embedding 模型
EMBEDDING_MODEL=proxy_http_openapi
PROXY_HTTP_OPENAPI_PROXY_SERVER_URL=https://api.siliconflow.cn/v1/embeddings
# 记得填写您在步骤2中获取的 API Key
PROXY_HTTP_OPENAPI_PROXY_API_KEY={your-siliconflow-api-key}
# 配置具体的 Embedding 模型名称
PROXY_HTTP_OPENAPI_PROXY_BACKEND=BAAI/bge-large-zh-v1.5


# 配置使用 SiliconCloud 的 rerank 模型
RERANK_MODEL=rerank_proxy_siliconflow
RERANK_PROXY_SILICONFLOW_PROXY_SERVER_URL=https://api.siliconflow.cn/v1/rerank
# 记得填写您在步骤2中获取的 API Key
RERANK_PROXY_SILICONFLOW_PROXY_API_KEY={your-siliconflow-api-key}
# 配置具体的 rerank 模型名称
RERANK_PROXY_SILICONFLOW_PROXY_BACKEND=BAAI/bge-reranker-v2-m3
注意:上述的 SILICONFLOW_API_KEY、 PROXY_HTTP_OPENAPI_PROXY_SERVER_URL 和RERANK_PROXY_SILICONFLOW_PROXY_API_KEY环境变量是您在步骤 2 中获取的 SiliconCloud 的 API Key。语言模型(SILICONFLOW_MODEL_VERSION)、 Embedding 模型(PROXY_HTTP_OPENAPI_PROXY_BACKEND)和 rerank 模型(RERANK_PROXY_SILICONFLOW_PROXY_BACKEND) 可以从 获取用户模型列表 - SiliconFlow(https://docs.siliconflow.cn/api-reference/models/get-model-list)中获取。
dbgpt start webserver --port 5670
在浏览器打开地址 http://127.0.0.1:5670/ 即可访问部署好的 DB-GPT。
3. 开始使用
1.安装 DB-GPT Python 包
pip install "dbgpt>=0.6.3rc2" openai requests numpy
为了后续验证,额外安装相关依赖包。
2.使用 SiliconCloud 的大语言模型
import asyncio
import os
from dbgpt.core import ModelRequest
from dbgpt.model.proxy import SiliconFlowLLMClient

model = "Qwen/Qwen2.5-Coder-32B-Instruct"
client = SiliconFlowLLMClient(
    api_key=os.getenv("SILICONFLOW_API_KEY"),
    model_alias=model
)

res = asyncio.run(
    client.generate(
        ModelRequest(
            model=model,
            messages=[
                {"role": "system", "content": "你是一个乐于助人的 AI 助手。"},
                {"role": "human", "content": "你好"},
            ]
        )
    )
)
print(res)
import os
from dbgpt.rag.embedding import OpenAPIEmbeddings

openai_embeddings = OpenAPIEmbeddings(
    api_url="https://api.siliconflow.cn/v1/embeddings",
    api_key=os.getenv("SILICONFLOW_API_KEY"),
    model_name="BAAI/bge-large-zh-v1.5",
)

texts = ["Hello, world!", "How are you?"]
res = openai_embeddings.embed_documents(texts)
print(res)
import os
from dbgpt.rag.embedding import SiliconFlowRerankEmbeddings

embedding = SiliconFlowRerankEmbeddings(
    api_key=os.getenv("SILICONFLOW_API_KEY"),
    model_name="BAAI/bge-reranker-v2-m3",
)
res = embedding.predict("Apple", candidates=["苹果", "香蕉", "水果", "蔬菜"])
print(res)
4. 上手指南
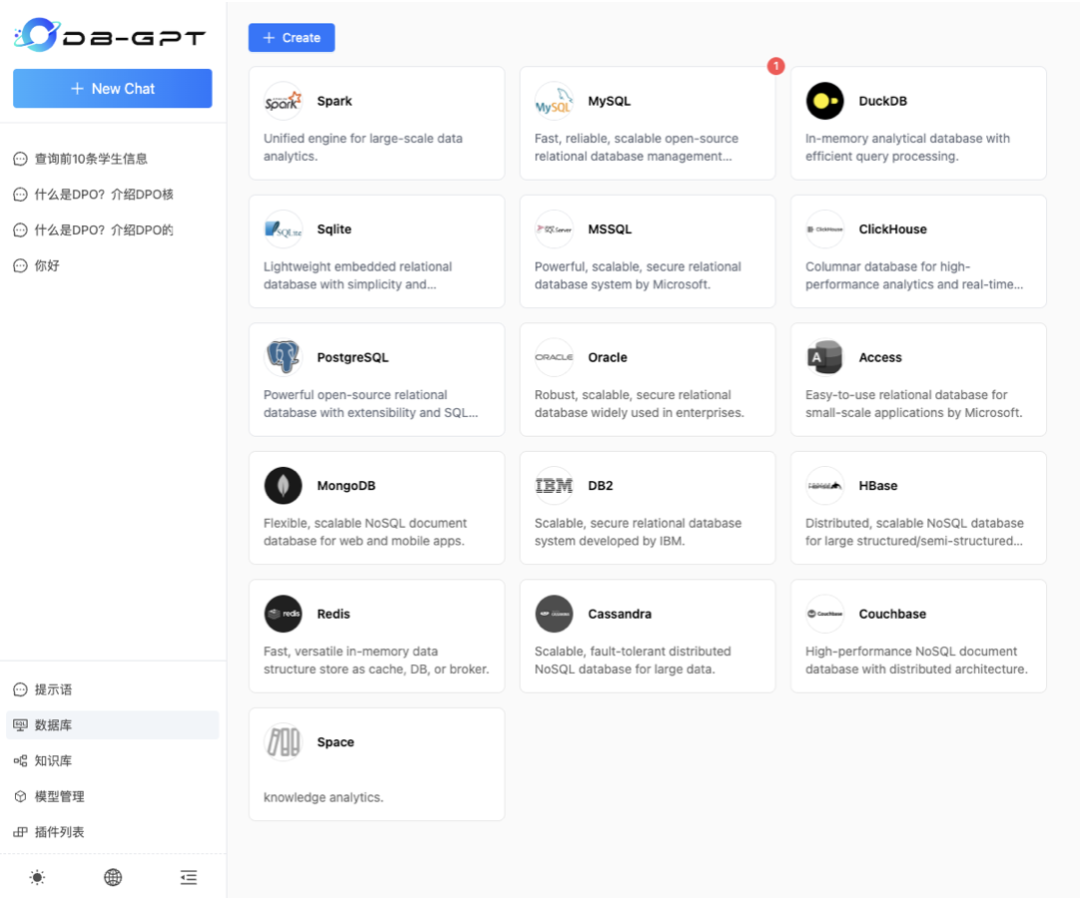
选择ChatData对话类型。
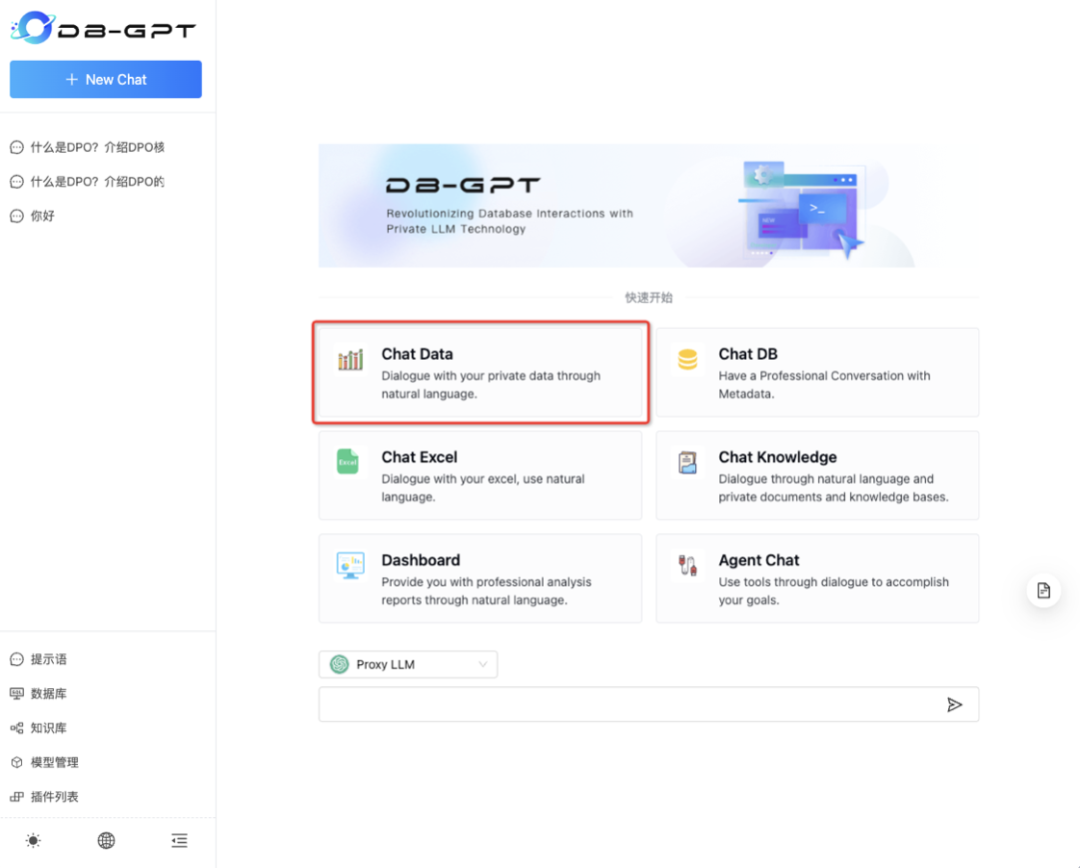
注意:在对话时,选择对应的模型与数据库。同时DB-GPT也提供了预览模式与编辑模式。
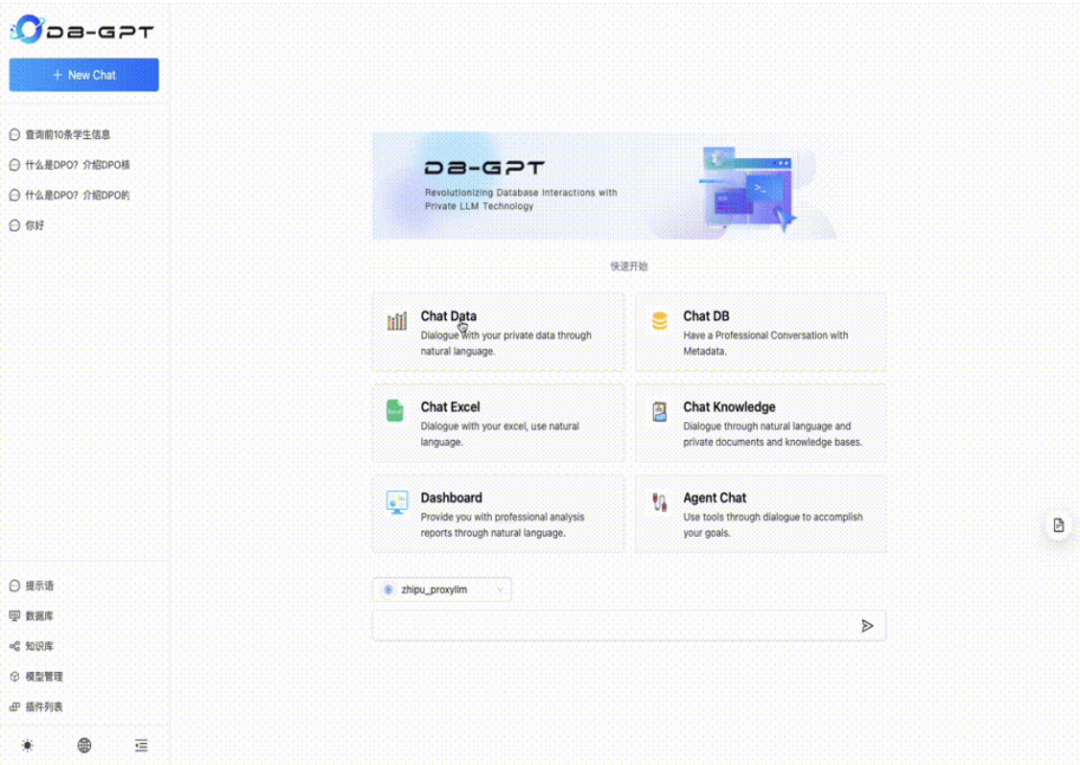
编辑模式: